Restauration d'un moteur ...
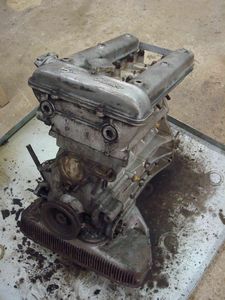
Suivez les étapes de la restauration d'un moteur depuis son arrivée à l'atelier jusqu'au moment de rejoindre le compartiment moteur de la voiture.
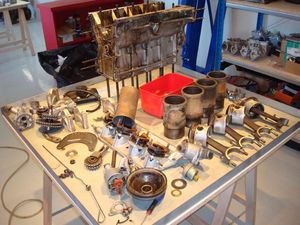
Après un premier nettoyage, le démontage peut commencer.
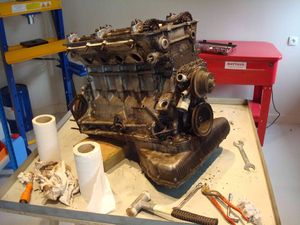
Dépose de la culasse,
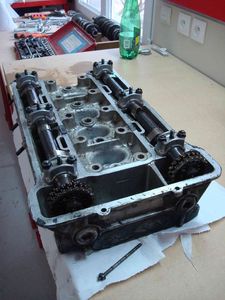
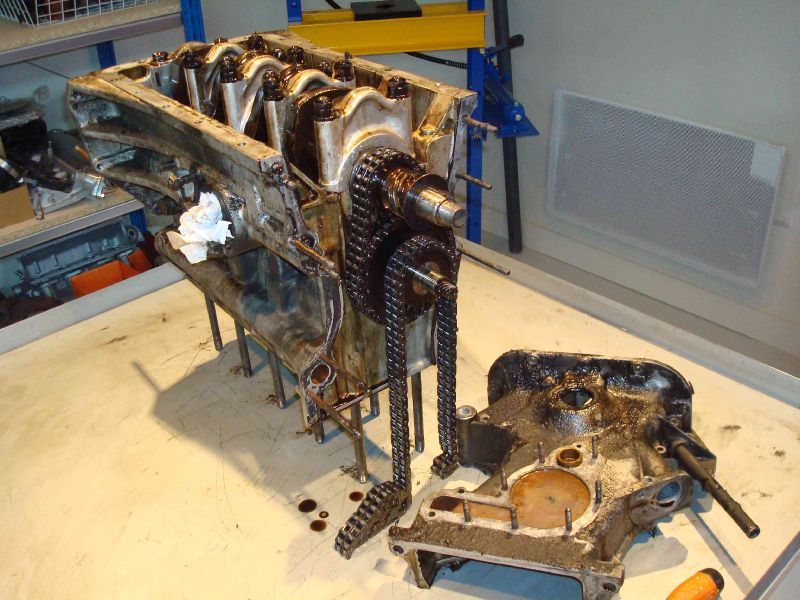
de la distribution,
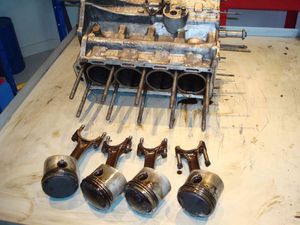
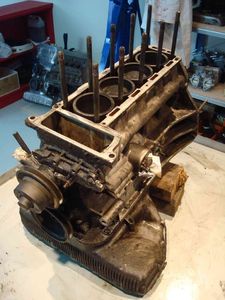
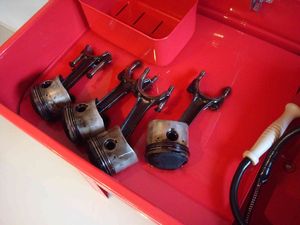
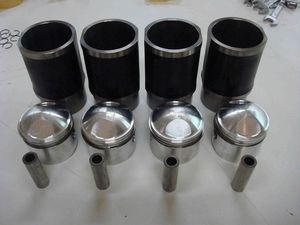
des pistons,
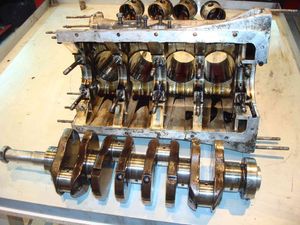
du vilbrequin,
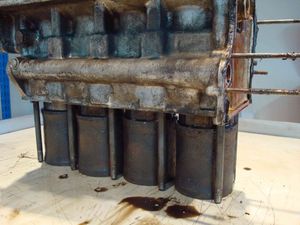
et des chemises.
chaque composant et ensuite soigneusement nettoyé,
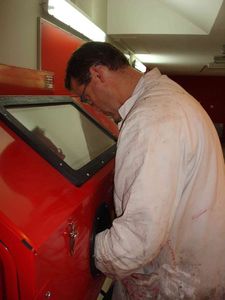
puis microbillé,
les pièces métalliques...
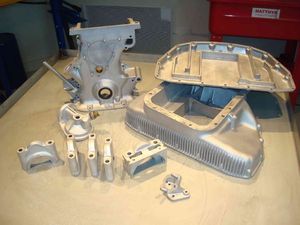
...et les alus!
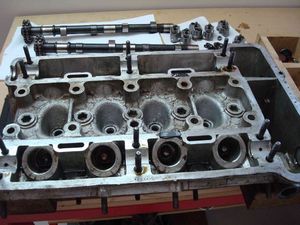
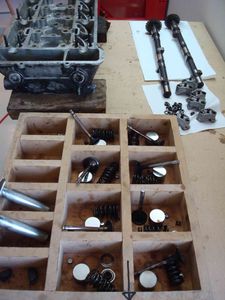
La culasse est entièrement démontée, et, elle aussi microbillée.
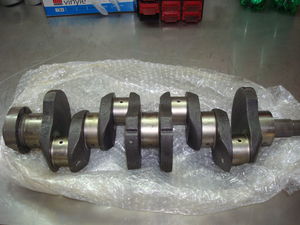
Dans certains cas le vilbrequin doit être rectifié, puis re-traité, il peut également être ré-équilibré, ce qui garantie un fonctionnement top du moteur et des montées en régime plus franches et rapides.
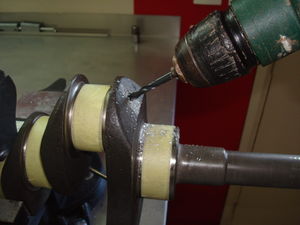
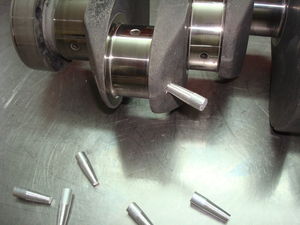
On extrait ensuite les bouchons d'aluminium...
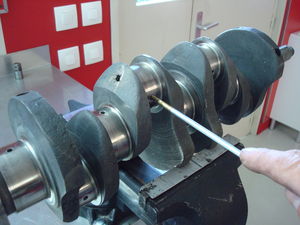
...puis, on procède au nottoyage complet des conduits d'huile.
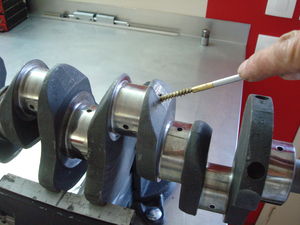
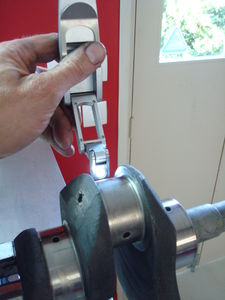
Après vérification, on replace des bouchons neufs.
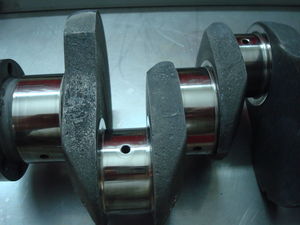
Le vilbrequin est prêt!
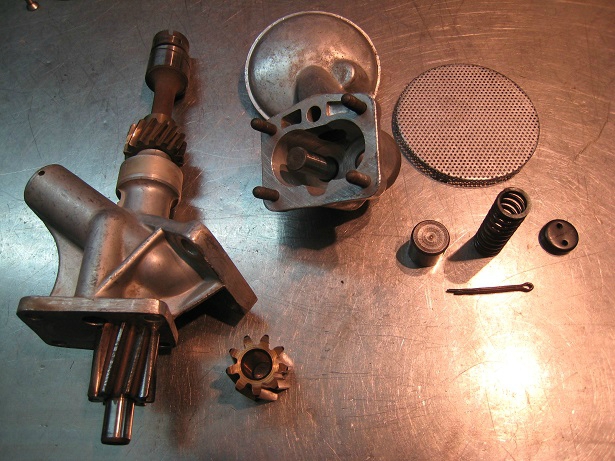
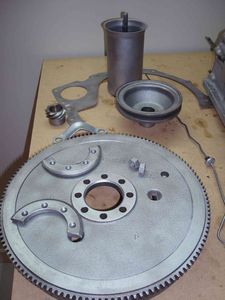
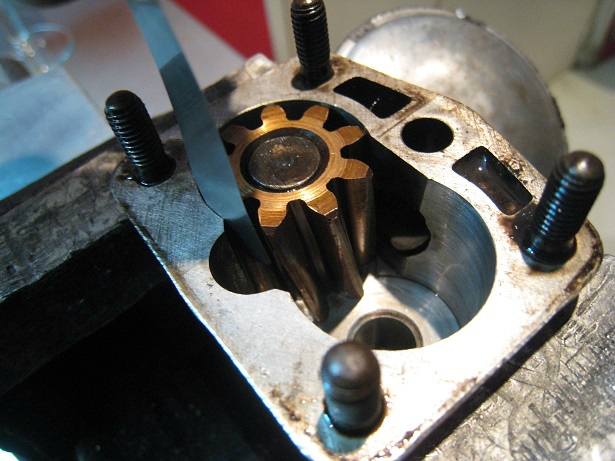
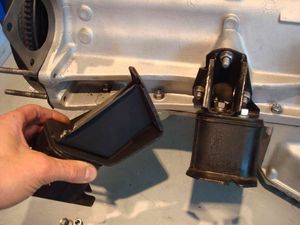
Après un démontage complet...
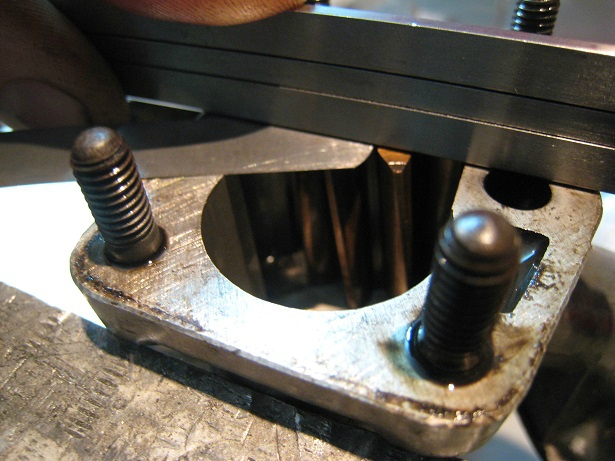
...la pompe à huile sera également vérifié.
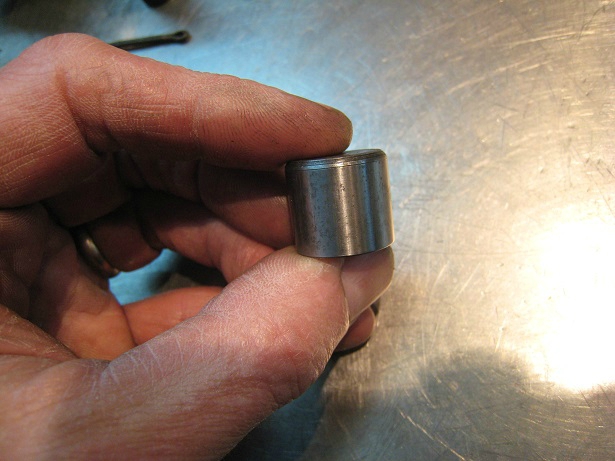
Le clapet de décharge est nettoyé avec un abrasif très fin.
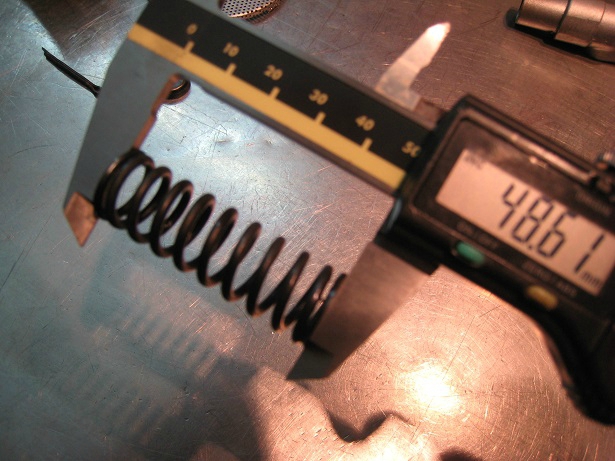
Contrôle du ressort de clapet.
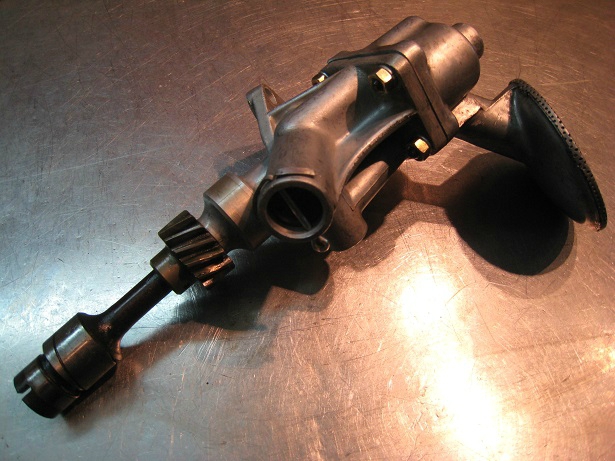
La pompe est prête à reprendre du service!
Le remontage peut commencer,
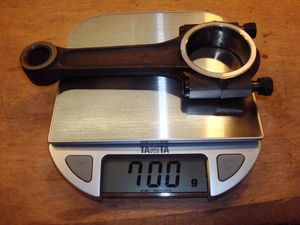
chaque bielle est pesée...
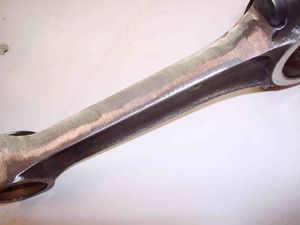
...puis ébarbée pour l'alléger,
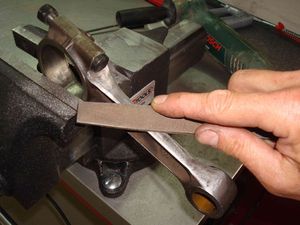
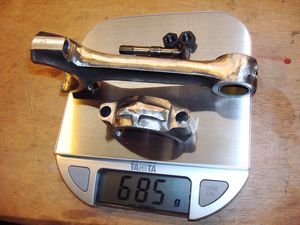
elles sont ensuite équilibrées au gramme près...
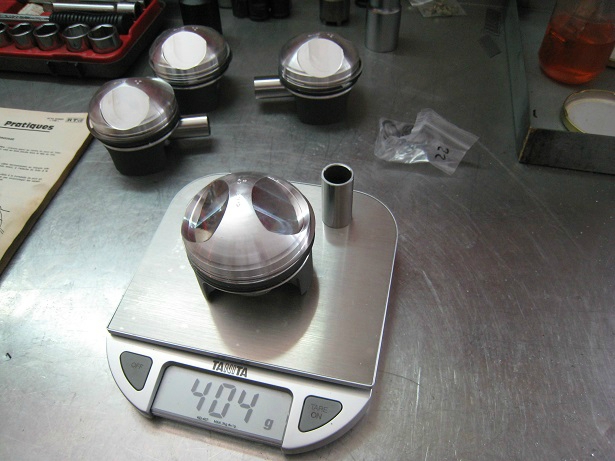
...tout comme les pistons.
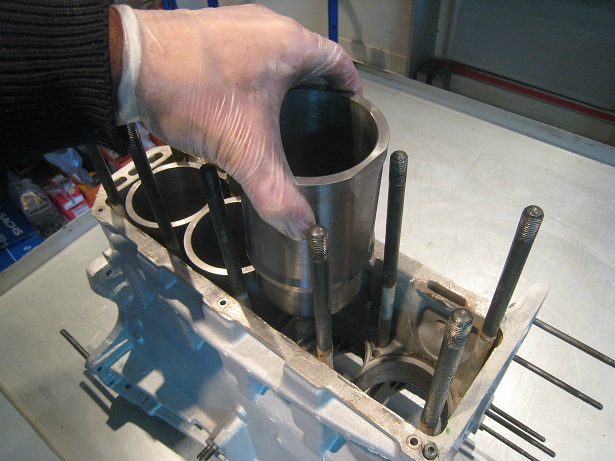
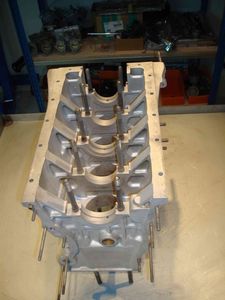
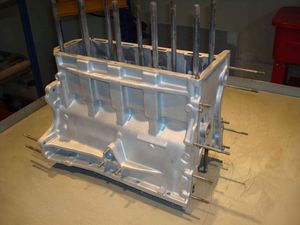
Les chemises neuves sont installées dans le bloc,


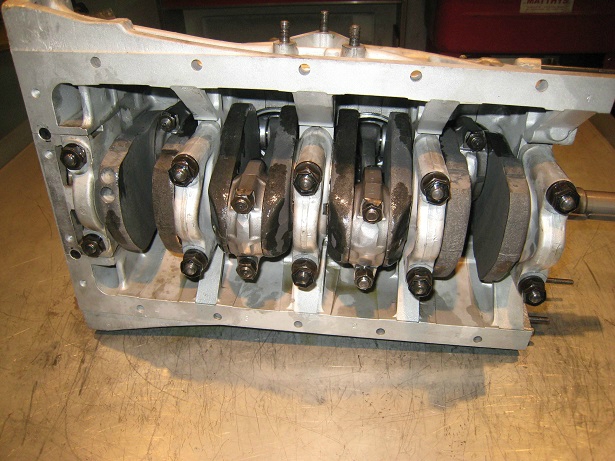

ainsi que le vilebrequin et les pistons neufs avec des coussinets neufs.
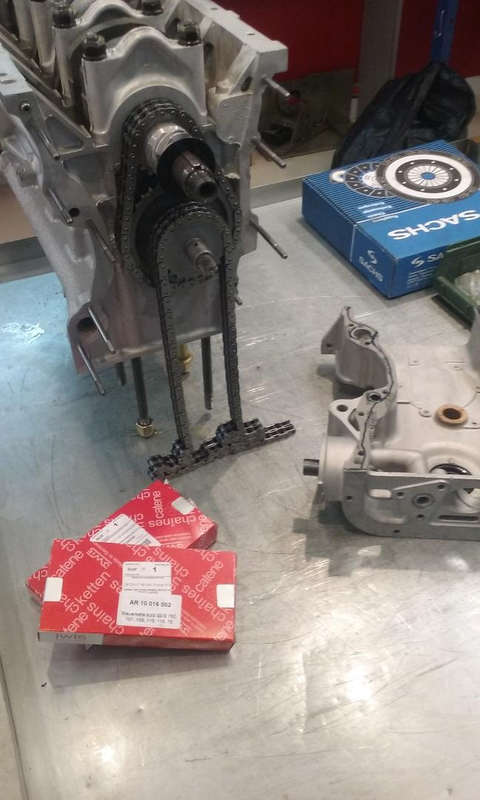
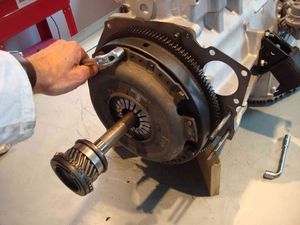
Pose de la distribution (chaînes neuves) et des joints de vilebrequin,
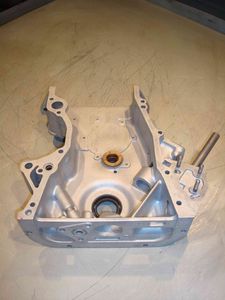
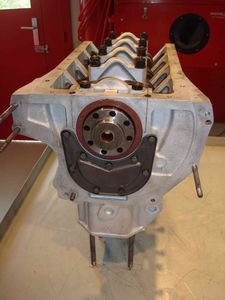
le carter de distribution,
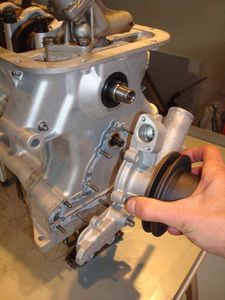
la pompe à eau,
et les carters d'huile!
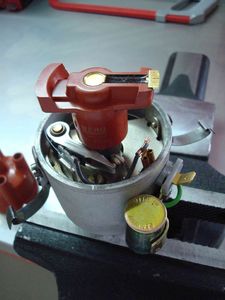
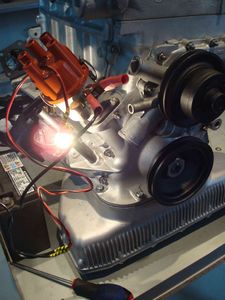
S'il n'est pas remplacé par un modèle électronique (plus performant!), l'allumeur d'origine, après un ré-conditionnement complet...
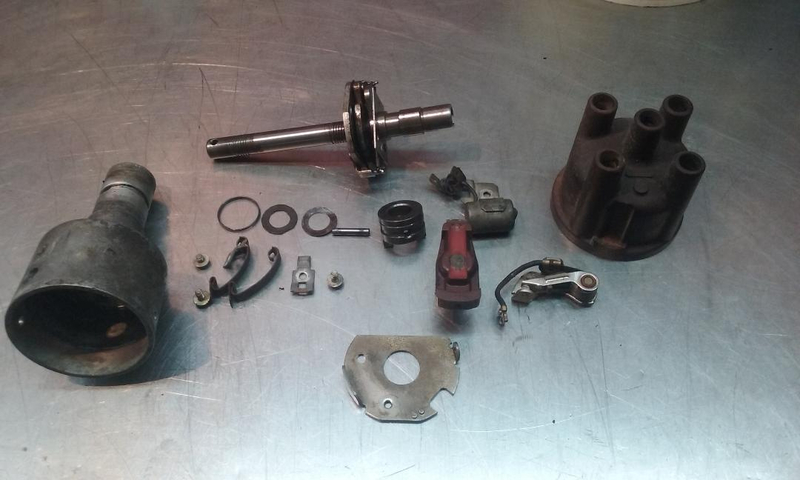
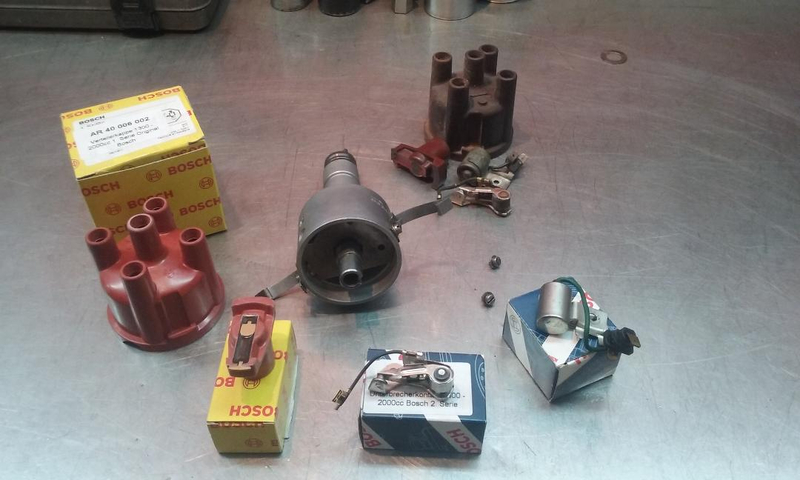
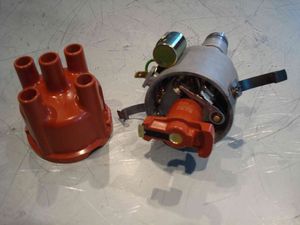
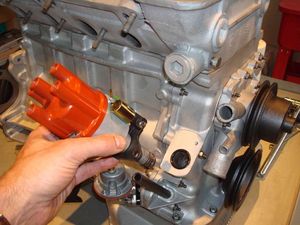
...retrouve sa place,
tout comme la pompe à essence.
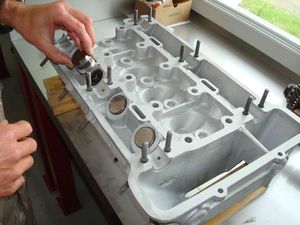
Remontage de la culasse,
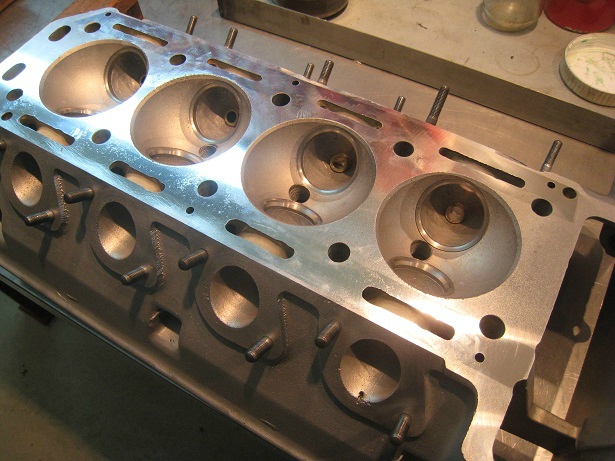
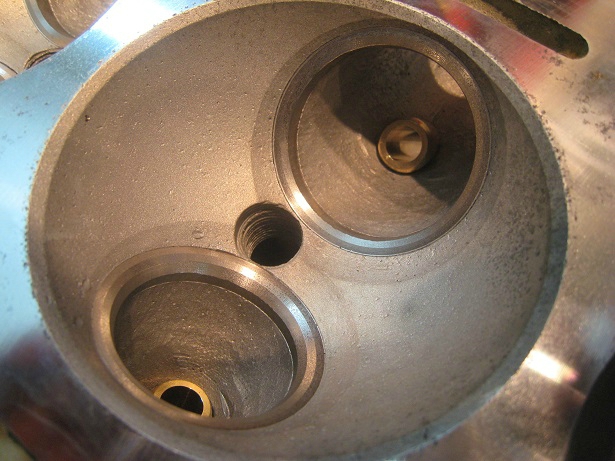
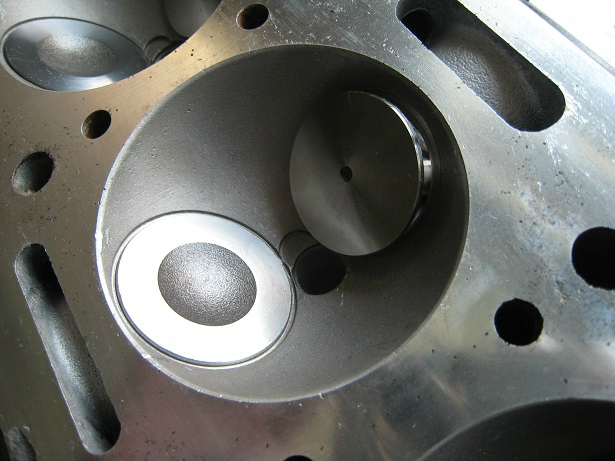
la culasse, après rectification, reçoit des guides de soupapes et soupapes neuves ainsi que des joints neufs, les sièges ont étaient rectifiés puis rodés.
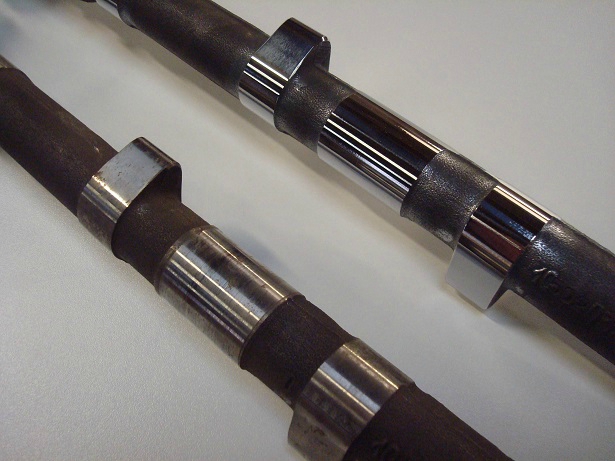
Les arbres à cames sont polis
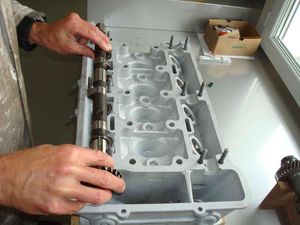
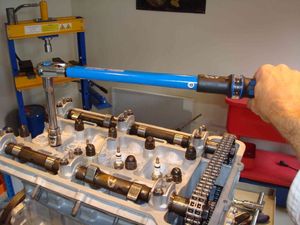
Après le remontage des soupapes, les arbres à cames reprennent leur place.
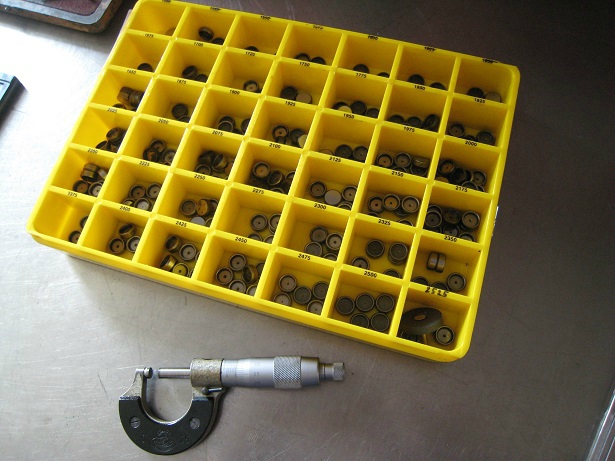
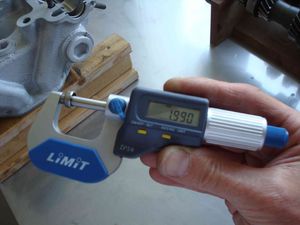
On procède ensuite au réglage du jeu des soupapes.
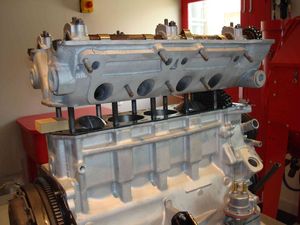
La culasse reprend sa place.
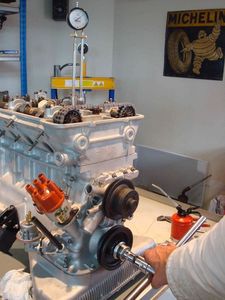
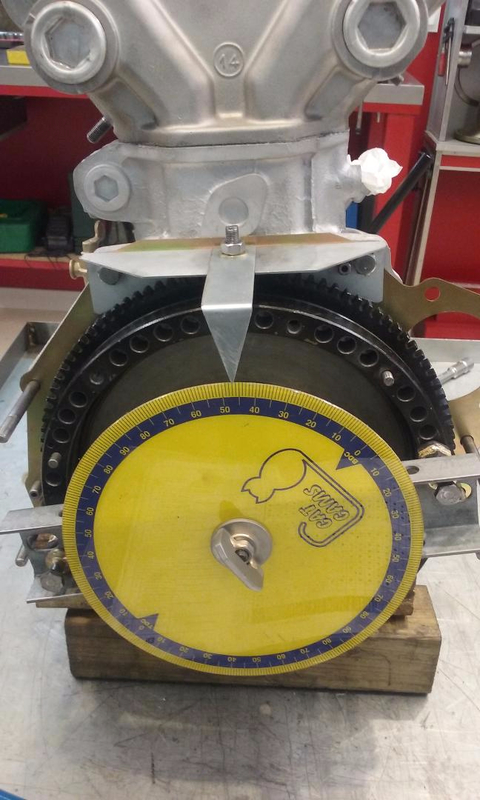
Recherche du "pmh" au comparateur pour un réglage très précis de la distribution.
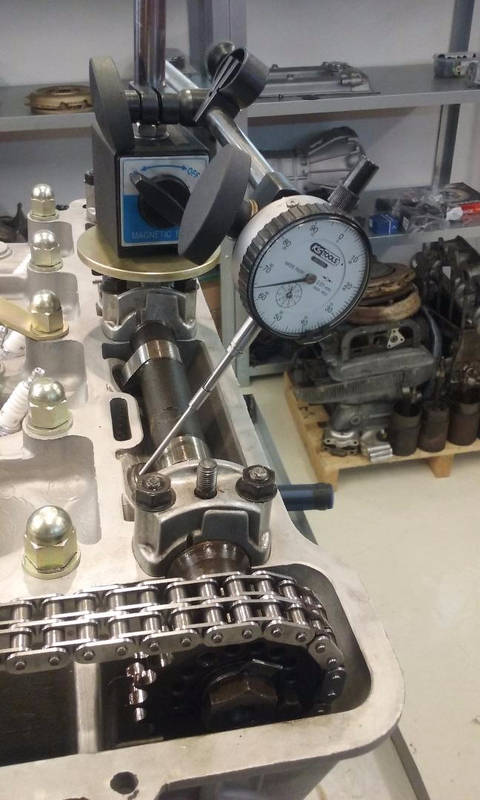
Calage des arbres à cames au comparateur et couronne graduée suivant le diagramme spécifique de chaque type d'ACC.
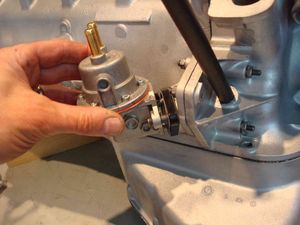
près-calage de l'allumeur
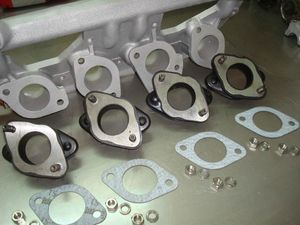

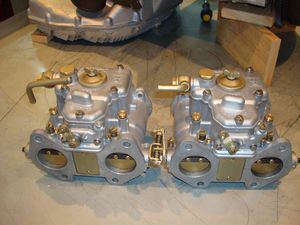
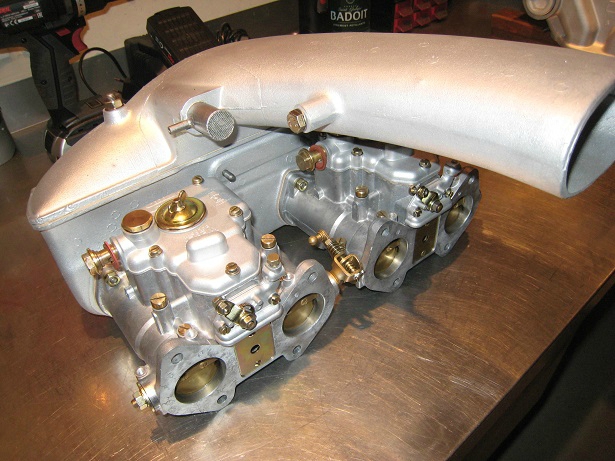
La pipe d'admission est équipée de brides de carburateurs neuves.
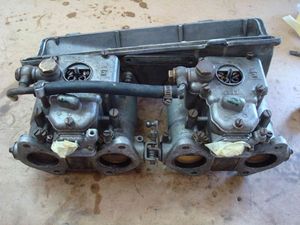
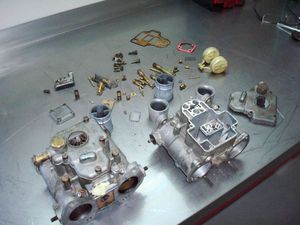
Vient le tour de la carburation.
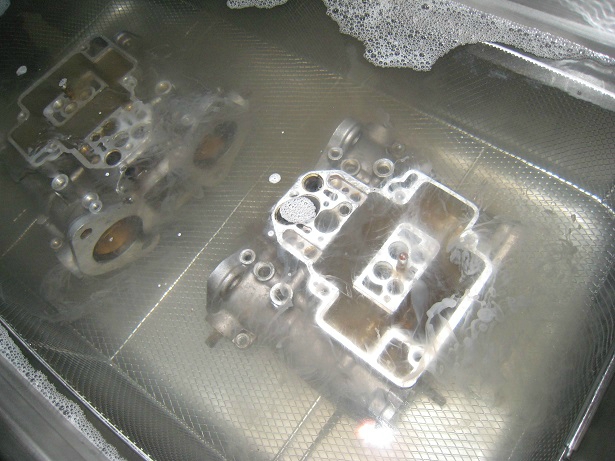
Chaque carburateur est entièrement démonté, néttoyé aux ultrasons, chaques composants est vérifiés.
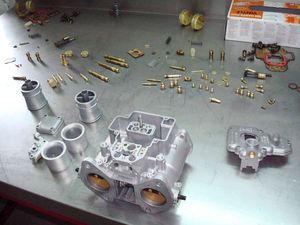
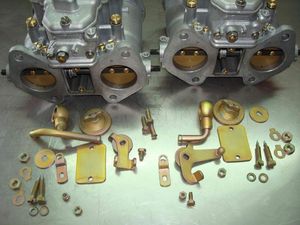
Après bichromatage de certaines pièces, tout est ensuite ré-assemblé.
Les pompes de reprises sont refaites, ainsi qu'un réglage de base pour le démarrage du moteur.
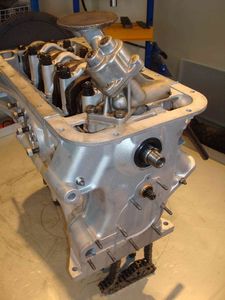
Le remontage se poursuit avec la pause de supports moteur neufs,

le filtre à huile,
le mécanisme d'embrayage,
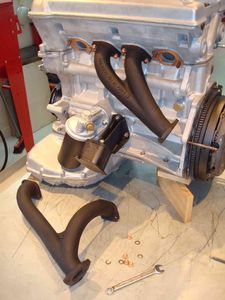
et les collecteurs d'échappement.
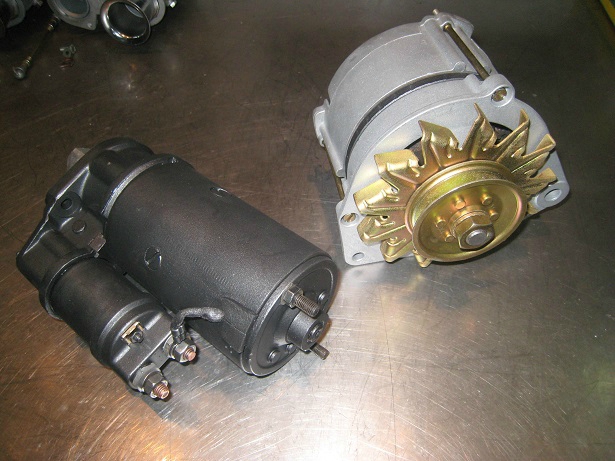
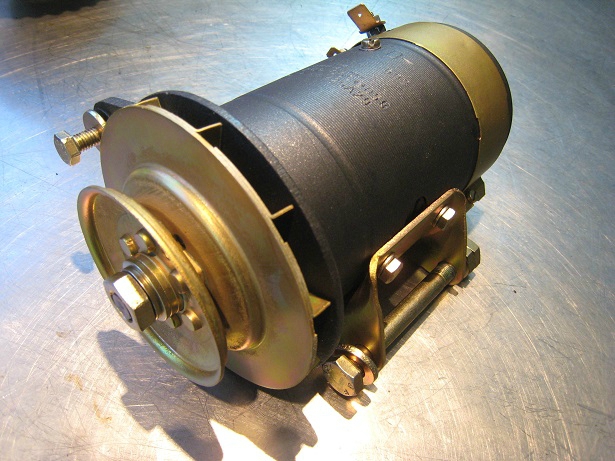
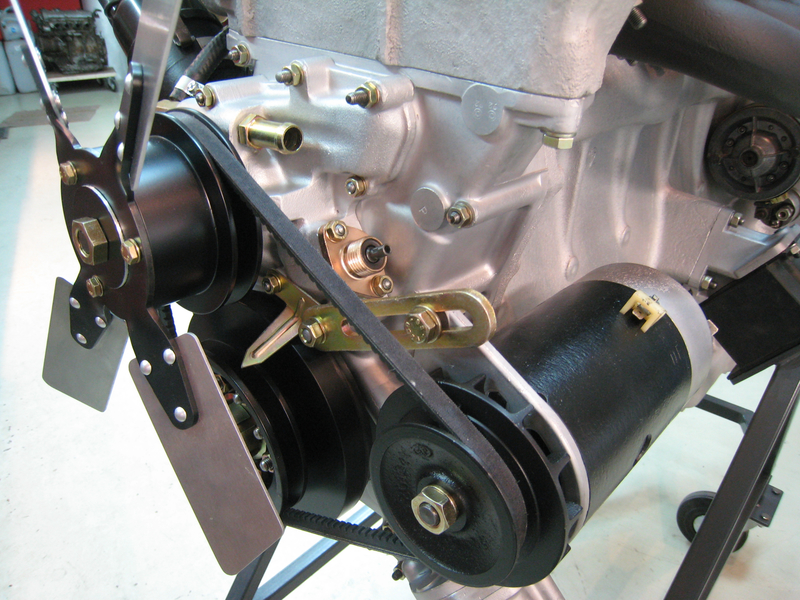
Démarreur, dynamo ou alternateur, peuvent également être entièrement re-conditionné.
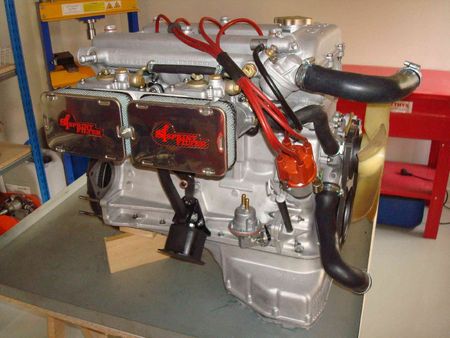
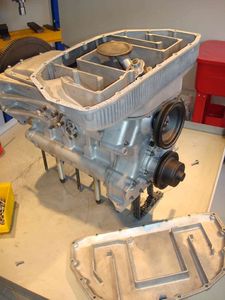
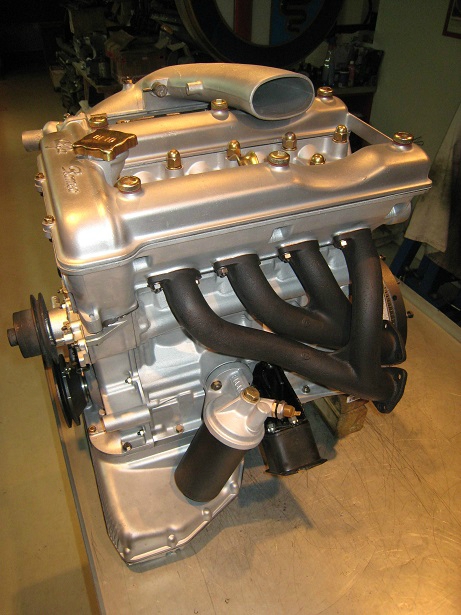
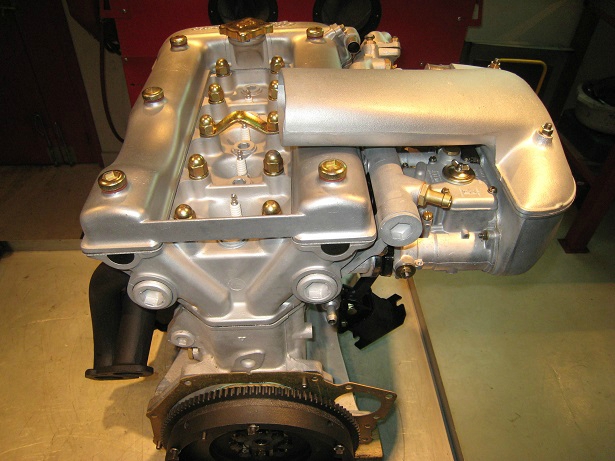
Le moteur est fini...

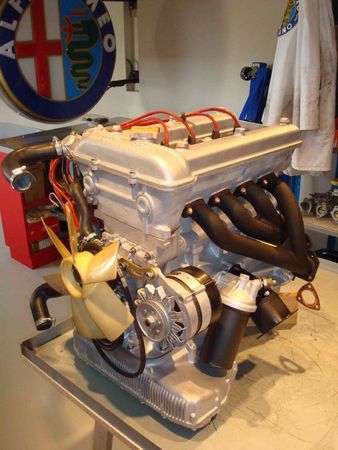
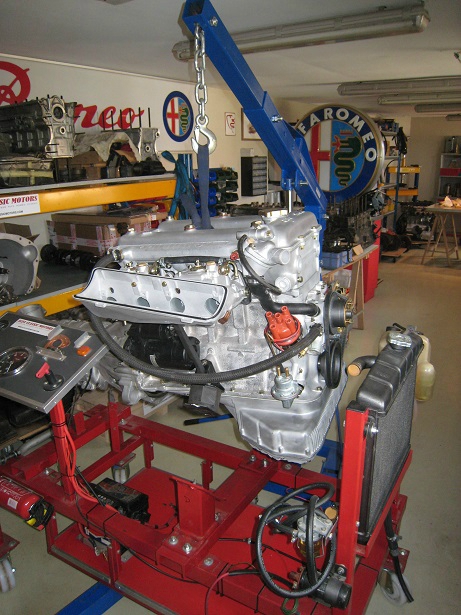
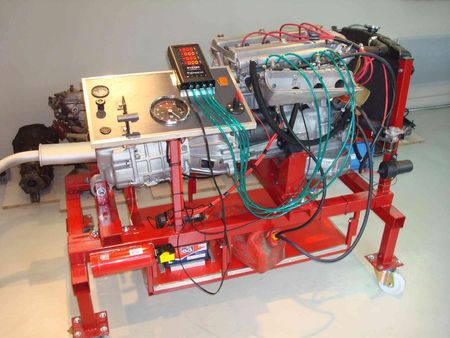
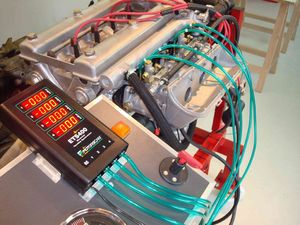
Il rejoint ensuite le banc d'essai où il sera réglé, inspecté et écouté...
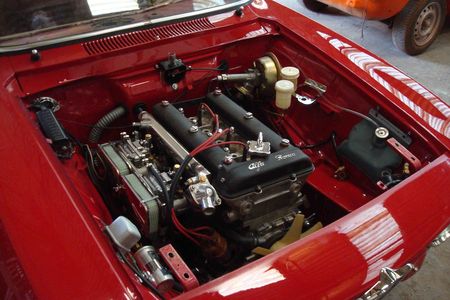
...et enfin le voilà prêt à rejoindre le compartiment moteur de votre belle italienne pour des milliers de kilomètres de bonheur!
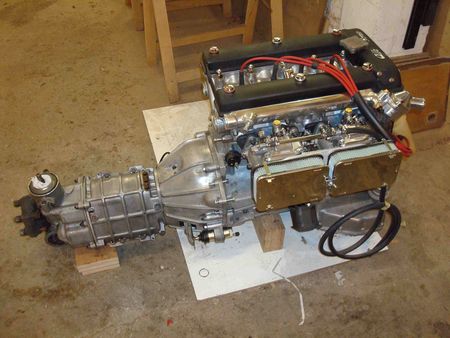
Un 1750 1ère série de 1969 sortant d'un restauration intégral.
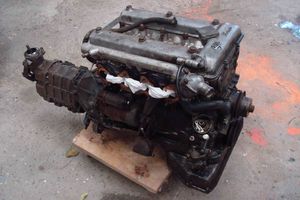
6 cylindres typo 106 de 1963
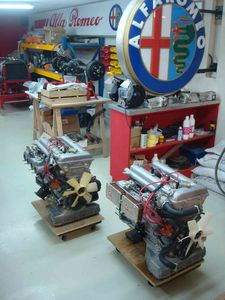
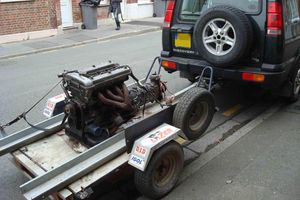
Des moteurs prêt à être chargés
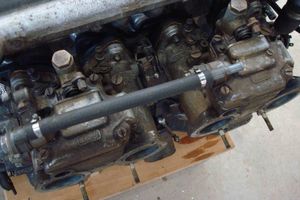
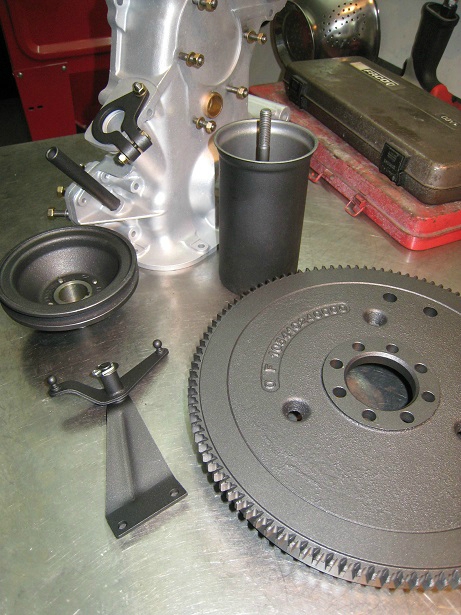
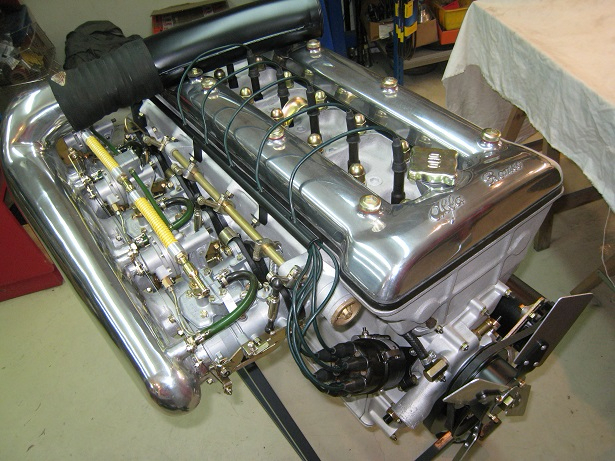
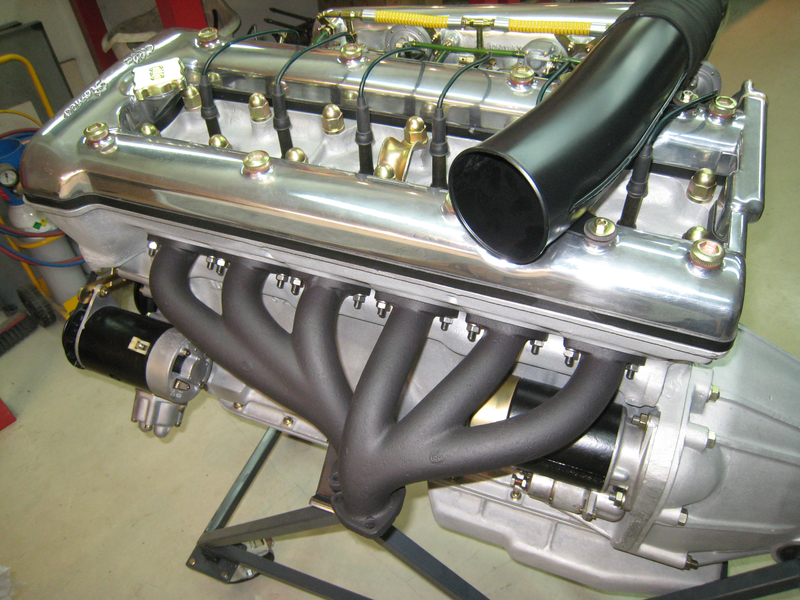
Différentes finitions sont possibles,
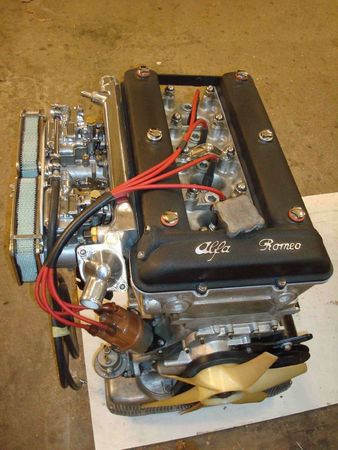
ici un aspect plus "racing".